It’s Time to Start Your Indoor Seeds
 After a long hard winter, we are all looking forward to spring. It also signals that it is time to think about starting your indoor seeds. Plants like tomatoes are generally started at the end of March, about 8 weeks before they are to be planted outside. And about a week or two later, you will want to start vegetables such as brussels sprouts, cabbage, cauliflower and pepper seeds. Most other vegetable seeds should be started in April or should be sown directly in the garden when it is safe from frost. You may want to refer to our Hardy and Semi-Hardy Cold Tolerant Vegetable Articles for more information on a variety of vegetables to plant directly in the garden early in the season. There are many plants that actually enjoy the lower temperatures and result in a sweeter vegetable.
Follow this general guide for starting indoor seeds:
- Timing – When to start your seeds indoors depends on the type of seed and the last expected frost date for your area. You will want to make sure you are giving your seeds enough time to grow strong and healthy before transplanting. Once you know your last expected frost date, your seed package should tell you how many weeks ahead you should start the seeds.
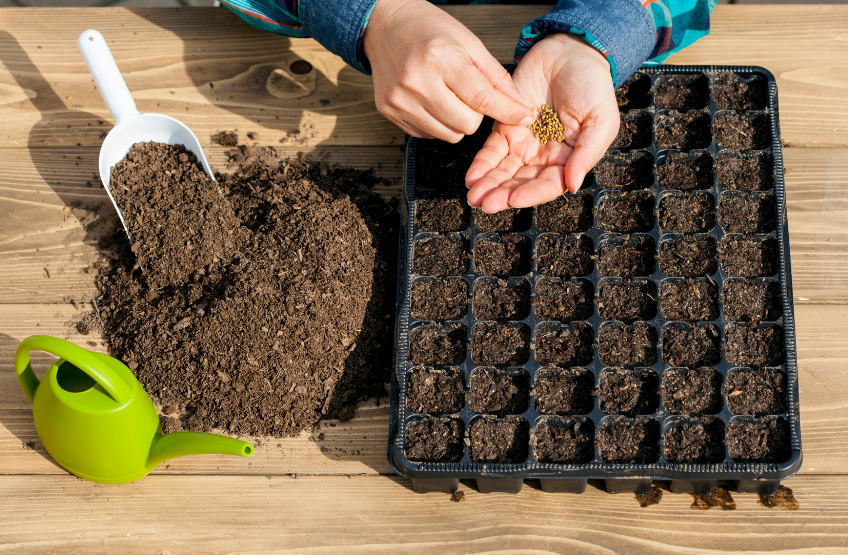
- Containers – You can use almost anything to start your seeds as long as it is clean, can withstand moisture and has drainage holes to prevent the soil from becoming waterlogged. Pre-made seed trays come with drainage holes and a humidity dome. Peat pots are an excellent choice as they are from peat moss. They have proper drainage, and you can plant them directly into the ground outside once the seedlings have matured. This also has the added bonus of reducing root trauma when you transplant your young plants. You can also use tiny regular pots or even egg cartons, if you poke your own drainage holes in the bottom. And you must place a drip tray underneath your container to catch the excess moisture and dirt.
- Soil – It is important to start your seeds off right with the proper growing medium. Quality growing mixes are very stable organic material that holds a great deal of water and air and does not decompose quickly. It provides excellent drainage, is lightweight so sprouts can surface easily and is sterile, so you don’t have to worry about fungal diseases. Make sure the soil is moist but not too wet before filling your containers leaving about ¼” from the top making sure it is firmly compressed.
- Plant – You must read the packet that your seeds come in to determine the depth of planting required. This is important because some seeds require light to germinate. Generally, seeds are planted twice as deep as they are long.
- Cover – Covering your seeds with plastic wrap or a lid, if it comes with it, ensures heat and moisture are locked in and will assist in germination. Most seeds require a warm spot and indirect sunlight as well but check your package as some seeds need complete darkness. Once the seeds start to sprout, you can remove the cover as the germination process is complete.
- Water – It is imperative that the starting mix is moist. Every day or so use a spray bottle to spray a layer of mist over the surface of the soil, so as not to wash the seed away. Alternatively, you could place the container in a tray of water and the soil will absorb the water from below.
- Sunlight – Place your seedlings in a bright light location, such as a south-facing windowsill for about 6 to 8 hours a day. If they have germinated in darkness, make sure to gradually move them into brighter light levels in stages so they’re not shocked by the sudden change of environment.
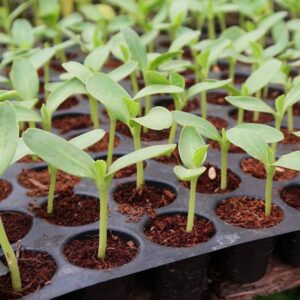
- Thin out – The goal is to grow strong, healthy plants that are ready for transplanting. If the seedlings are planted together, they may need to be separated and moved into their own container to avoid overcrowding. If you do have to move your seedlings, be aware that they are very delicate and must be handled with care.
- Harden off the seedlings – It is recommended that your seedlings are hardened off which means the indoor seedlings are gradually exposed to outdoor conditions like colder temperatures, wind, and direct sunlight so that they don’t go into shock due to the jarring change in environment. This process should be started about 2 weeks before you are going to transplant your seedlings. Your seedlings should be placed in an outdoor spot protected from wind and sun for an hour a day. Then every day, extend your seedlings time spent outside by another hour and gradually expose them to more and more sunlight.
- Transplant – The day has arrived and your seedlings are ready to transplant. There is no threat of frost and your seedlings have become used to being outdoors. The seed packet will let you know how much space is required between seedlings. Now all you have to do is make sure they have sufficient sun, water & fertilizer, sit back and wait for the harvest.